Introduction
GoLand is a new commercial IDE by JetBrains aimed at providing an ergonomic environment for Go development.The new IDE extends the IntelliJ platform with coding assistance and tool integrations specific for the Go language. To know more about it visit official website here. In the tutorial I will walk you through how to download & install the IDE on kali linux.
Installation
First of all, you need to install golang, Please check this blog post first if you didn’t install it.
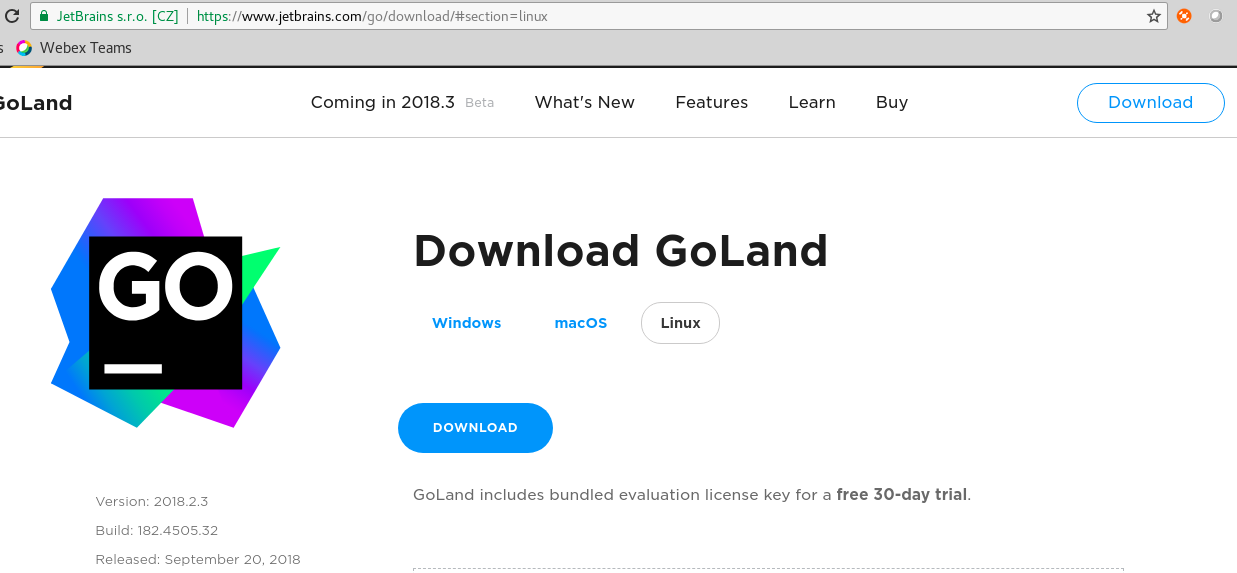
Download the setup from official website from here. Make sure you are selecting the linux variant of the setup. Once the download is complete, move the tar file to /opt and extract the file using tar command below,

tar -xvf goland-2018-2.3.tar.gz
rename the extracted file for simplicity, name it as golang-2018
mv Goland-2018-2.3 goland2018
Now, let try to run this by executing the startup script which can be found under bin
cd bin

./goland.sh
First time launch screen will pop up asking you to enter either the license server or activation key. Here, we actually have a few options,
- 30-day free trial
- Buy activation key (details here)
- Student version
You can opt for a 30-day free trial & evaluate all its features. Second option is to buy the product which will cost you around 20$ per month as of now if you think that is expensive you can simple opt for a student version which will offer you a three year free access, which is ideal for students.
Adding goland shortcut
Practically its not feasible option to launch a regularly used tool from a command line located on a specific directory. Above all it keeps your terminal clean :-). Let’s simplify it by creating a shortcut icon. You need to install alacarte
Launch alacarte from start menu, click on “New Item” to add the shortcut, this will pop up a screen as shown below, you need to provide the name, command and logo.

Name it as goland, browse the command; click on the browse button. In our case its,
/opt/goland2018/bin/goland.sh

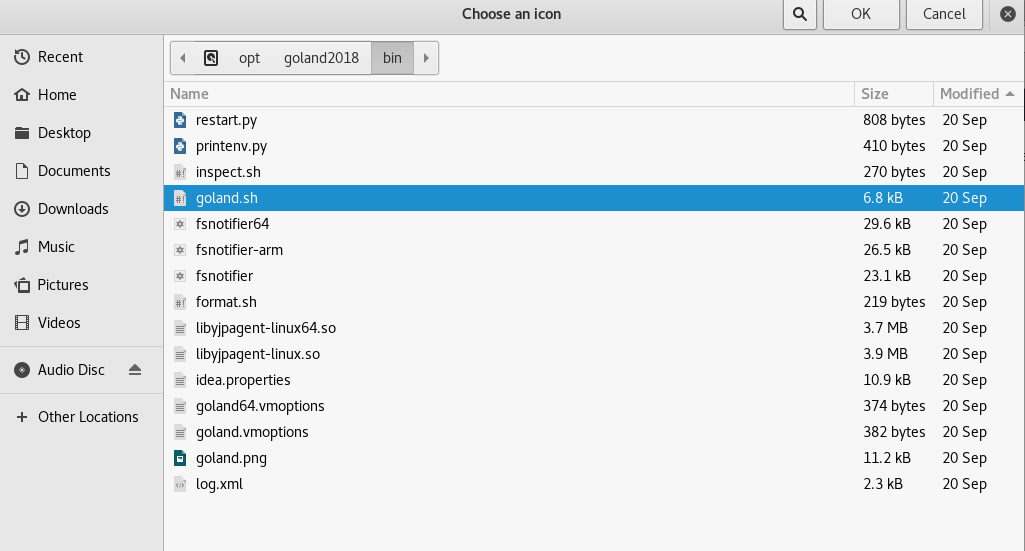
Also browse for the logo by clicking on the icon as you can see in the above screenshot, and that will be located here,
/opt/goland2018/bin/goland.png
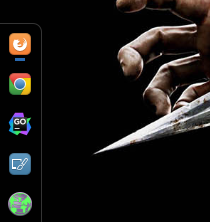
Close that window & you can ensure that the shortcut has been added by searching from on the start menu which can be dragged to your launch bar as shown below.
