What is JMonkey?
As per the Official documentation, It’s a free, open source game engine, made especially for Java game developers who want to create 3D games using modern technology. The software is programmed entirely in Java, intended for wide accessibility and quick deployment.
In this blog post, I will show you how to install JMonkey.
Download the setup from github
Please follow the Official link to download the binary to install. Please note that you need to have Java installed on your system.
Select the appropriate links from the download page according to the operating system that you are using. For instance, select jmonkeyplatform-linux-x64.sh if you are on Linux 64 bit, jmonkeyplatform-windows-x64.exe if you are on Mac & vice-versa.
Install JMonkey
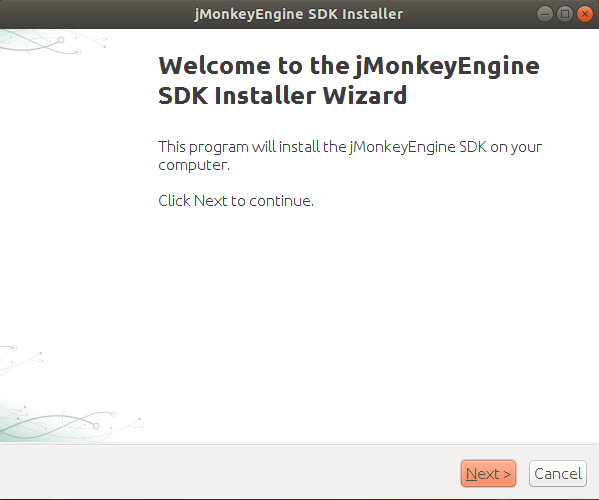
Execute the downloaded binary and the setup wizard should pop up (shown below)
In my case, it’s Ubuntu, so I am gonna use the command below,
./jmonkeyplatform-linux-x64.sh

Please note that the IDE (Integrated Development Environment) comes with a fully Packed JME (Java Monkey Engine) with Netbeans so you don’t need to install IDE separately.
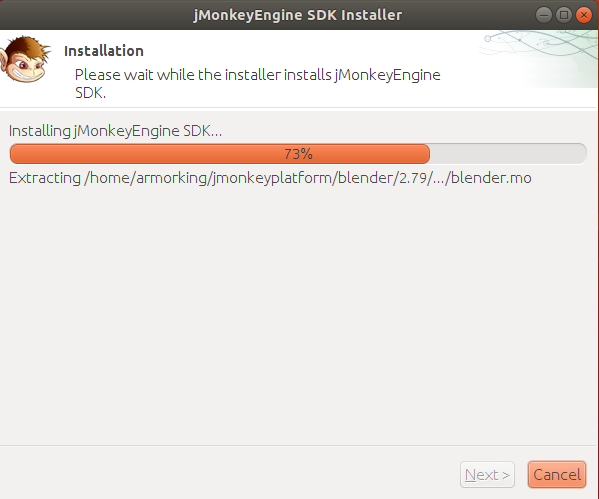
Select the default installation path and it should get the setup ready in a few minutes.

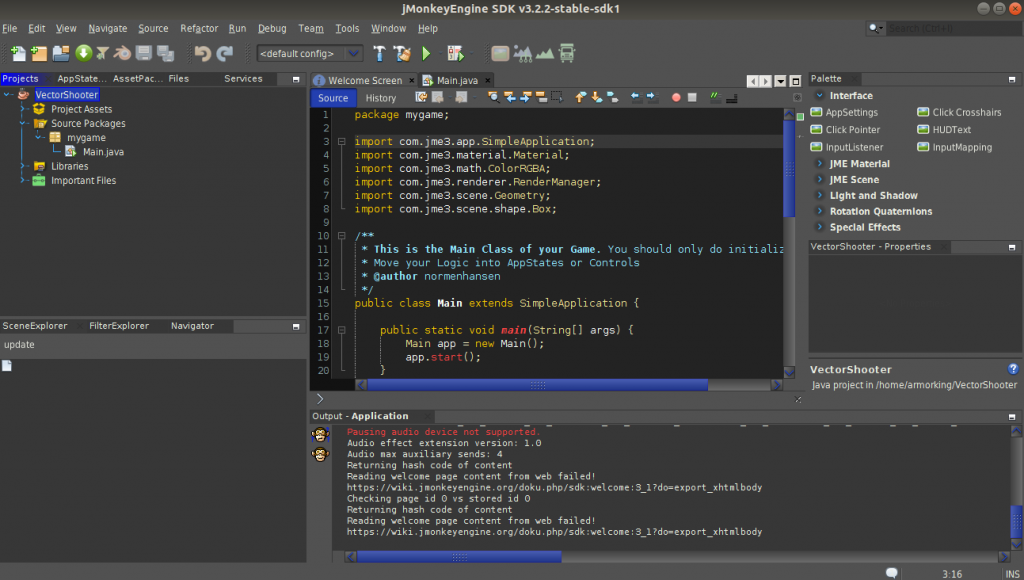
After the installation is complete, you should be able to launch it from the shortcut icon from the desktop or from the startup menu & should give you the screen below.
