In this blog post, I will show you how to install SSL (Secure Socket Layer) certs on your website. Note that this tutorial is focused on wordpress based websites.
Step-1 Buy Certificate
I will suggest ssls.com which offers certs at a cheaper price compared to other providers.
Once you purchase your certs you can download them, you can download it from https://www.ssls.com/user/certificates and click on cert number and then click on download as shown below

Step-2: Validate your website
HTTP-based validation
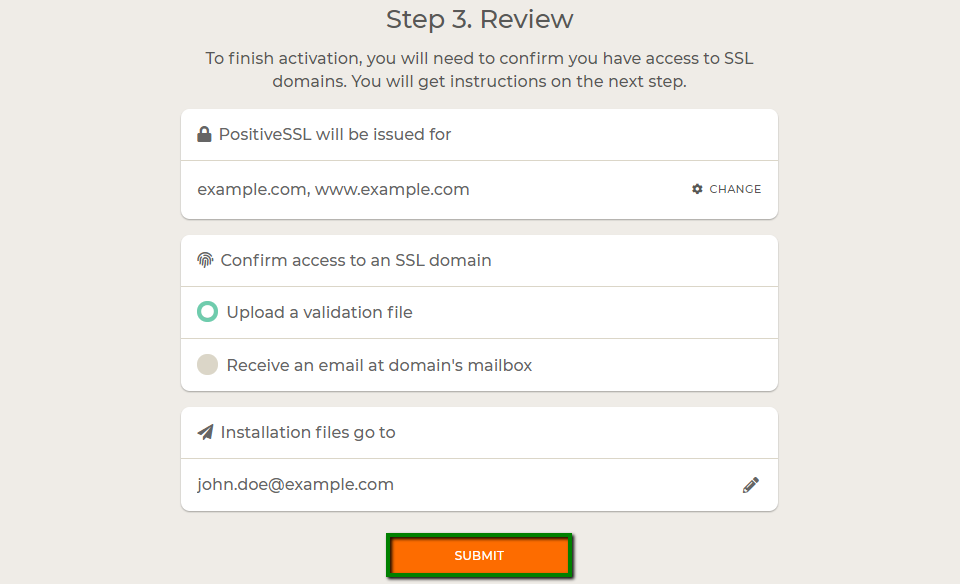
As soon as you purchase your certificate, you will be asked to confirm access using two methods,
- Upload validation File
- Receive email
Select Upload validation file option because this is easier and can be verified quickly. Click on submit. You will download a file which needs to be uploaded to your website.

Http based validation is simple, you need to navigate to /var/www/html/.well-known/pki-validation
and upload the downloaded validation file. Once you upload it, it should be accessible publicly via your website as show below,

Step-3: Upload Certs to your website
Upload your certificates bundle and move it to /etc/ssl/<some-name>/
Navigate to below directory and edit default-ssl.conf
directory: /etc/apache2/sites-enabled
SSLEngine on
SSLEngine on

SSLCertificateFile      /etc/ssl/goacademy_ca_certs/gitopscentral.com.crt

SSLCertificateKeyFile /etc/ssl/goacademy_ca_certs/goacademy.key

SSLCertificateChainFile /etc/ssl/goacademy_ca_certs/gitopscentral.com.ca-bundle
Step-4: Restart Apache
systemctl restart apache2.service
After you restart you need to wait for some time, it might take about 15 minutes or the changes may reflect immediately. To confirm that your certs are active you can check the status on ssls.com here as shown below,

That’s it, you should be able to see your website running in ssl!
Servers Other than Apache
If you are using servers other than Apache, you can follow from the list of method described here