
This blog post is a comprehensive guide about installing CentOS on your laptop. I will walk you through the steps involved in installing the OS & GNOME desktop (GUI).
Download and create bootable USB
Download the image from here & Select “everything-iso” from the options available.
You need to make a bootable USB using this image. Use win32diskimager on your Windows PC.
Unetbootin is my regular choice, but for some reason, the unetbootin has problems, So, I suggest win32diskImager. Once the bootable USB is ready, plug-in the USB to your laptop & boot it. F12 should be the key to bring up bootable options in some laptops it’s F11/F2 depending upon the manufacturer.
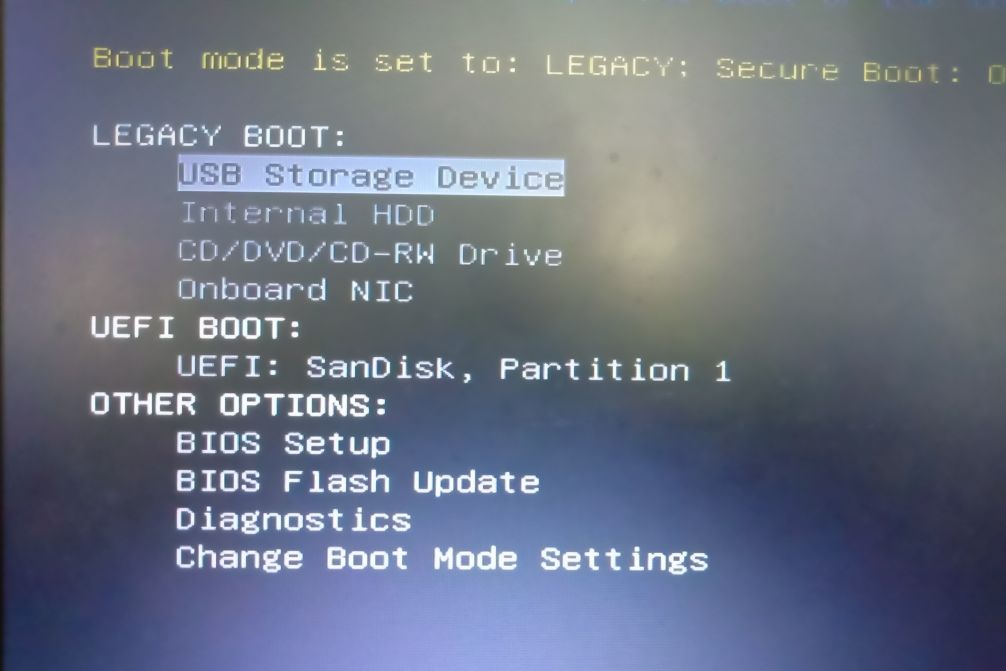
USB from the boot-menu.
Installation
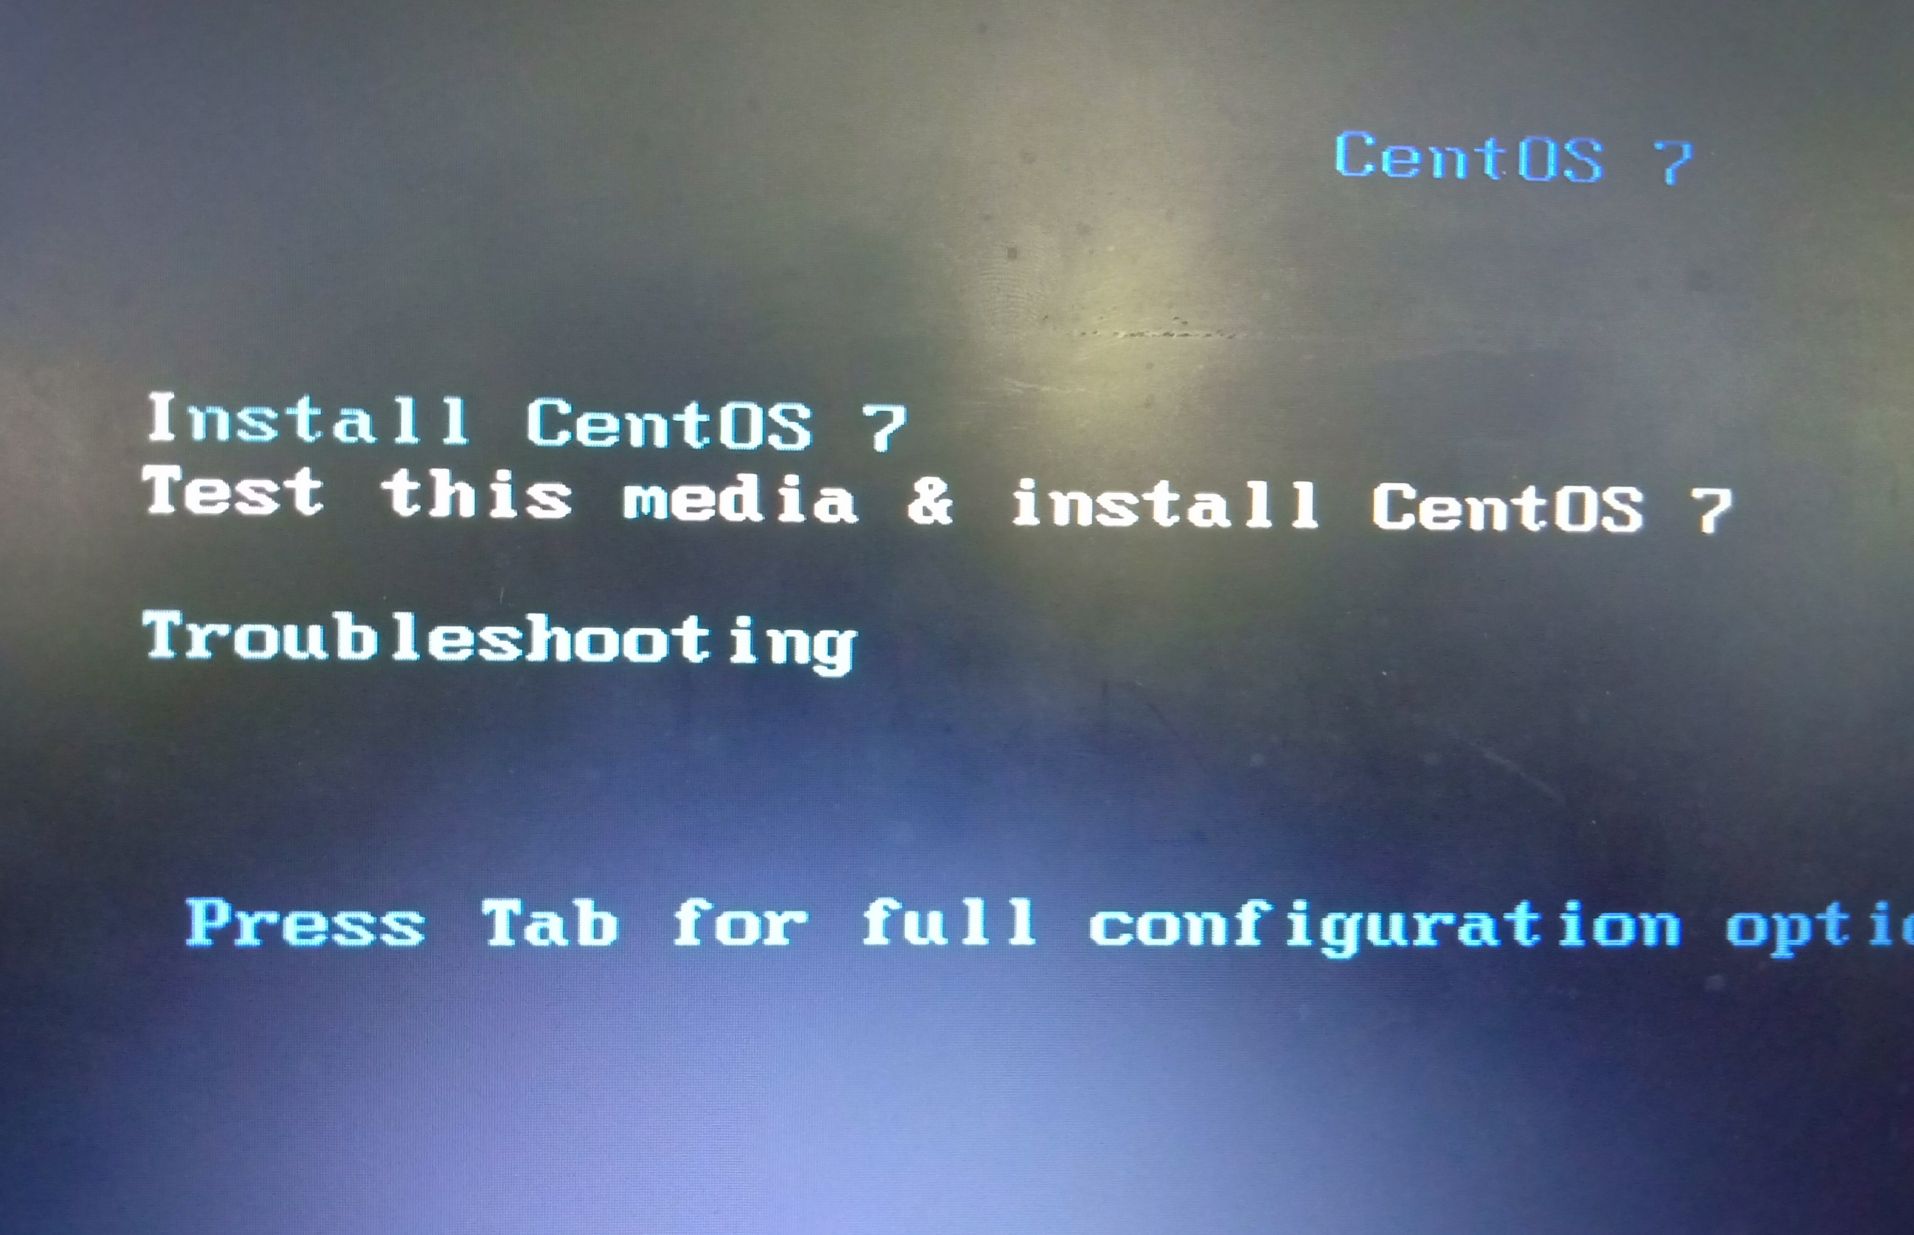
Install Centos from the menu and hit enter.

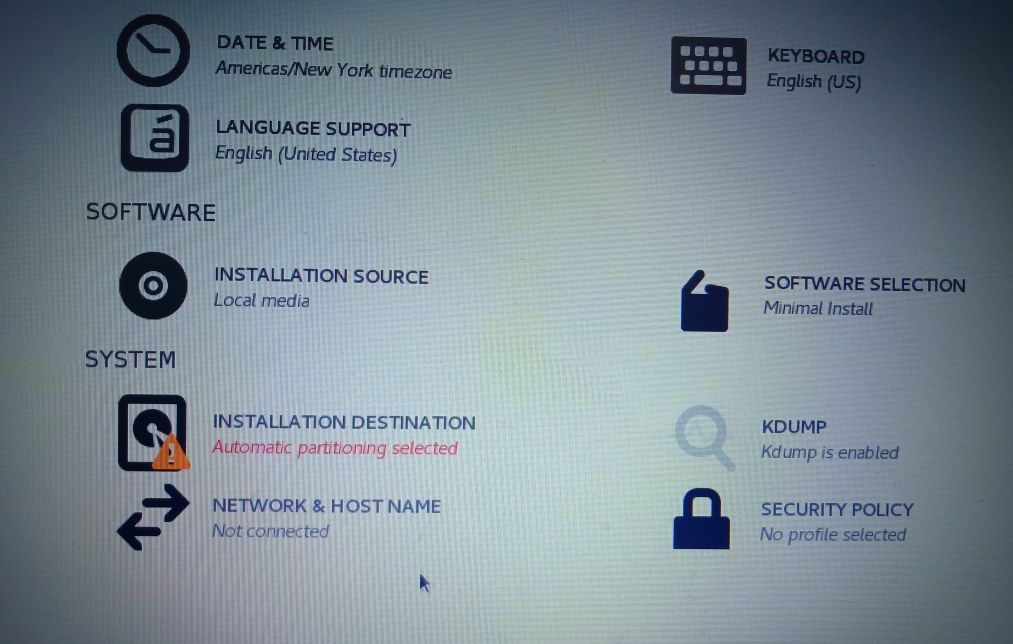
Select your preferred language, I am leaving it to default here.
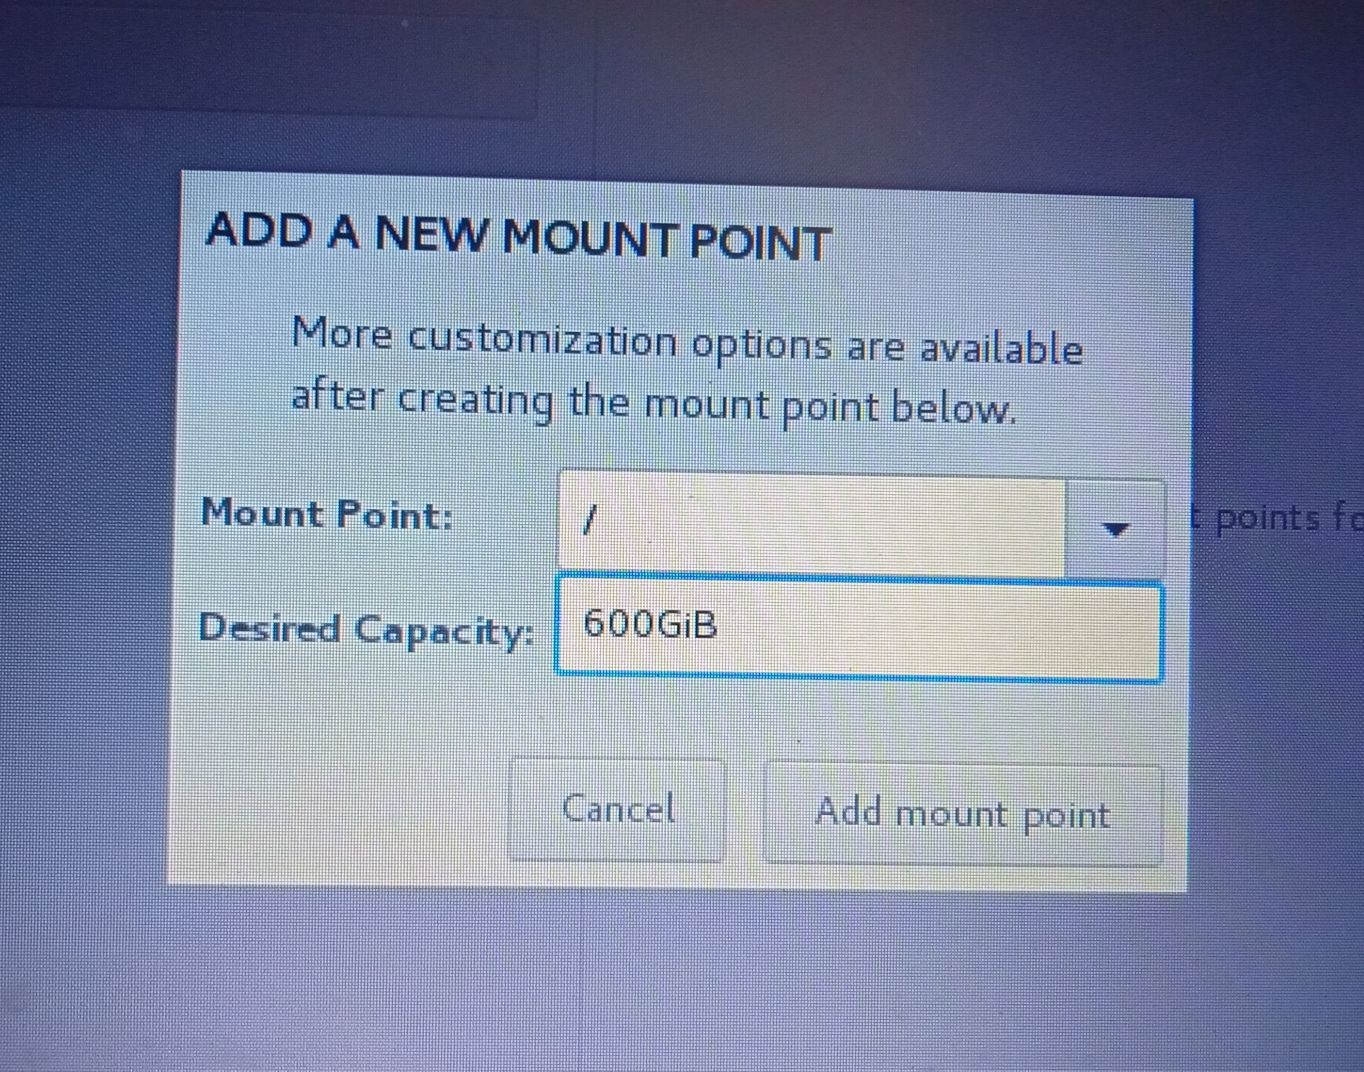
Click on ‘+’ icon to add a new partition. We need to provide the following partitions
/(in ext4 for the system)swap(in swap, utilized when RAM is full)
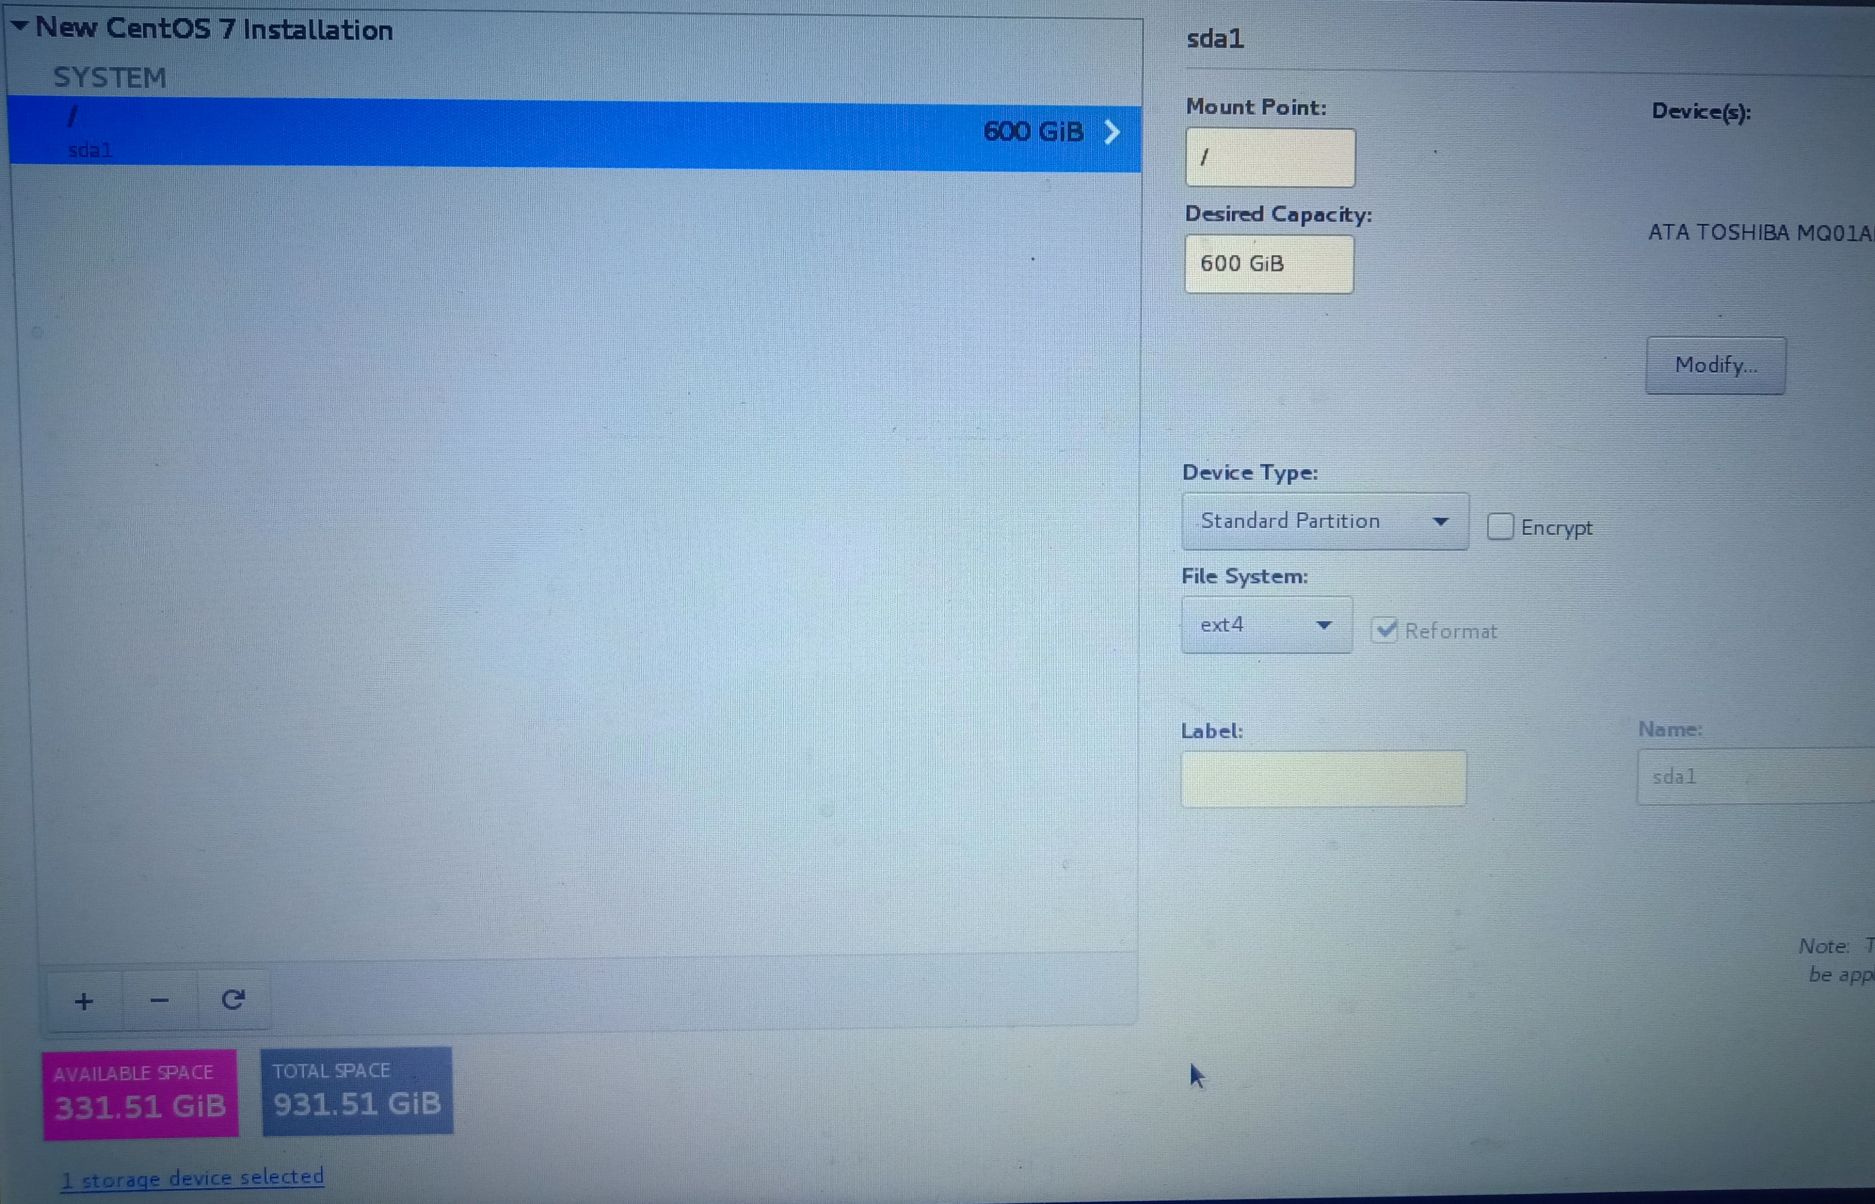
For /
MountPoint: swap

MountPoint: /home
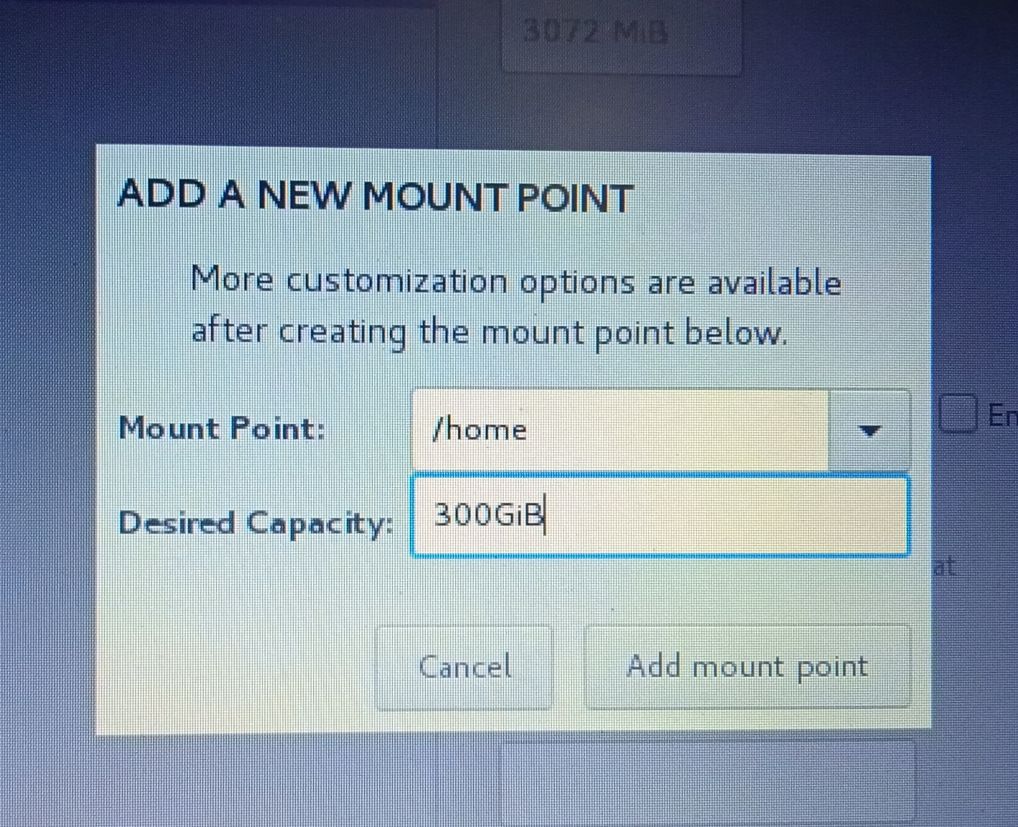
Ideally, 1 GB should be enough for swap & 15 GB for the OS. I am allocating 3 GB for swap & 600 GB.
For / Just make sure that partition type is Standard and disk-type is ext4
 Apply all the changes as the pop-up comes,

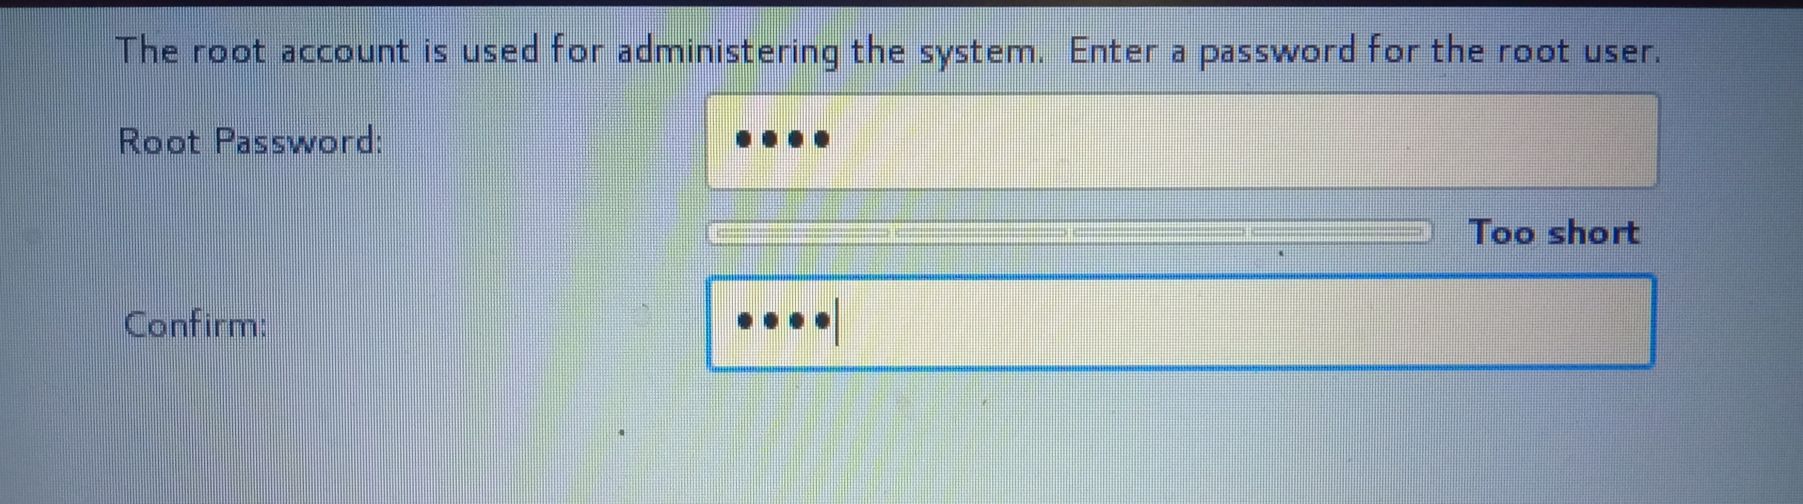
This should start processing, and setup the username and password
Enabling the Ethernet
As the installation is complete, you will be asked to login with your credentials from the command line. After you login, connect a wired ethernet cable & enable it so that we can install GNOME desktop
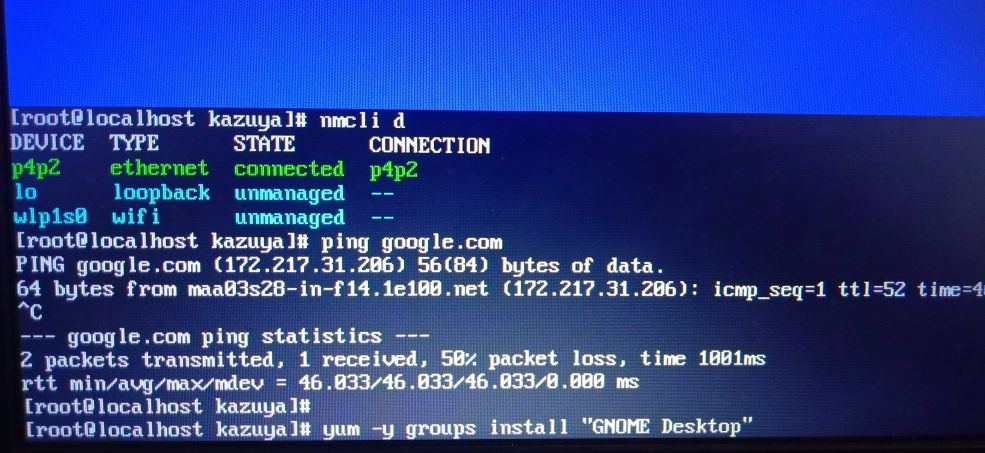
Before that let’s do a general check to see the status of Ethernet using the command below,
nmcli d

open network manager using nmtui
nmtui

Edit the connection, & select enable optionAutomatically connect. Use space to check it.
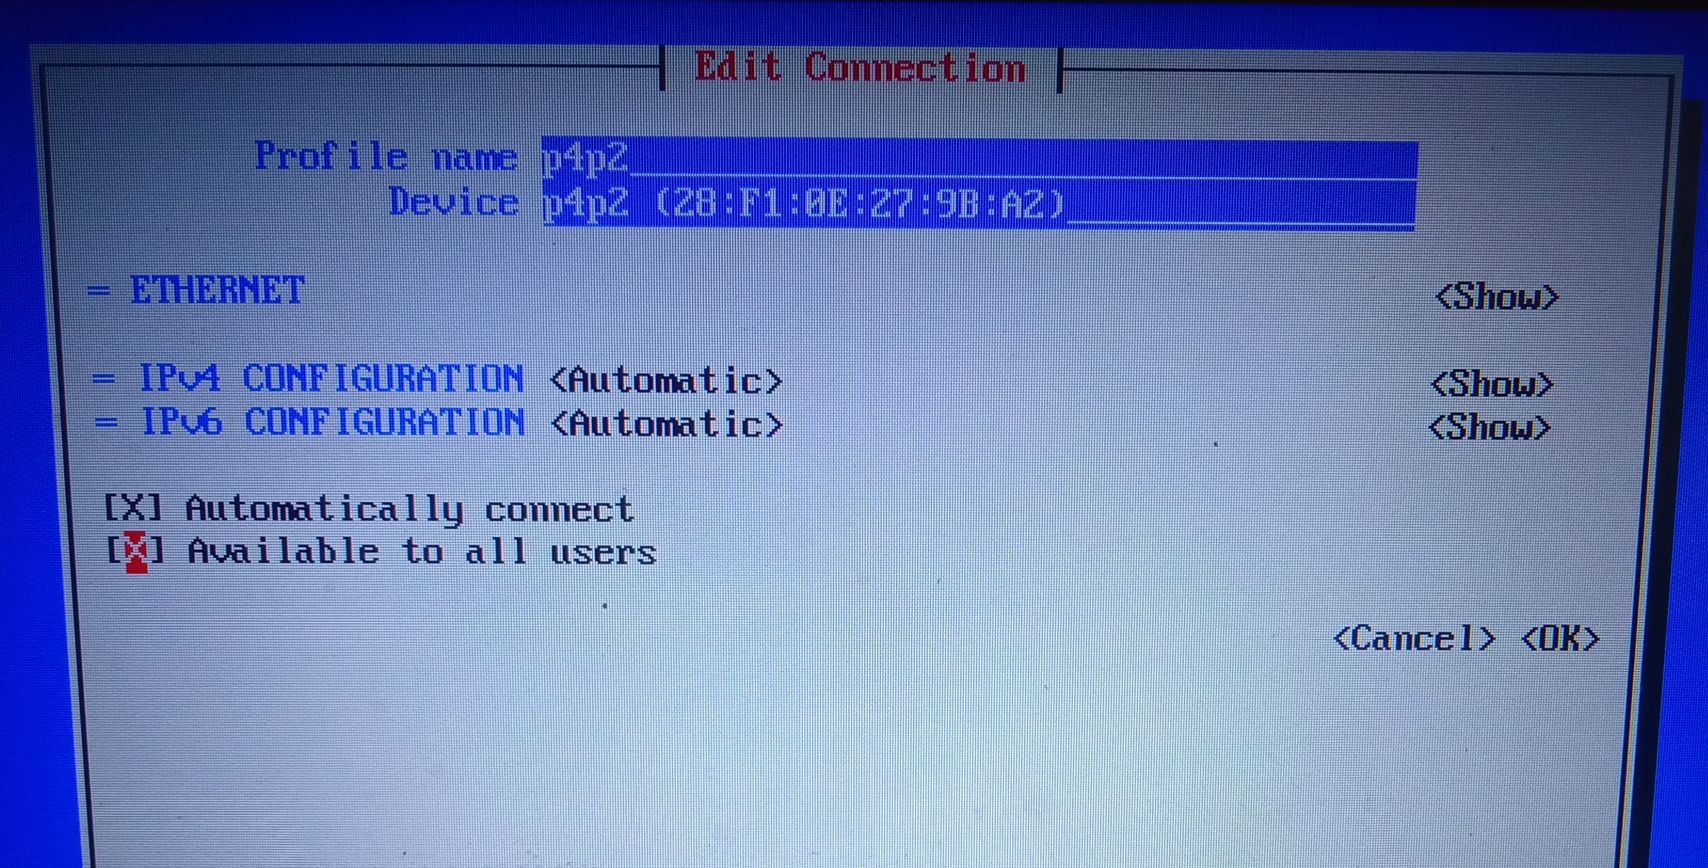
As you are done, save & exit this. Now, you should be able to connect to the internet via Ethernet cable.
yum group install "GNOME Desktop" "Graphical Administration Tools"
After the installation is complete, use the command below to launch the GUI
startx
Finally, this will ask you to set-up the basic things like the language, wifi & location for the first time. You should be good to go after that!